Implants
 Custom Abutments
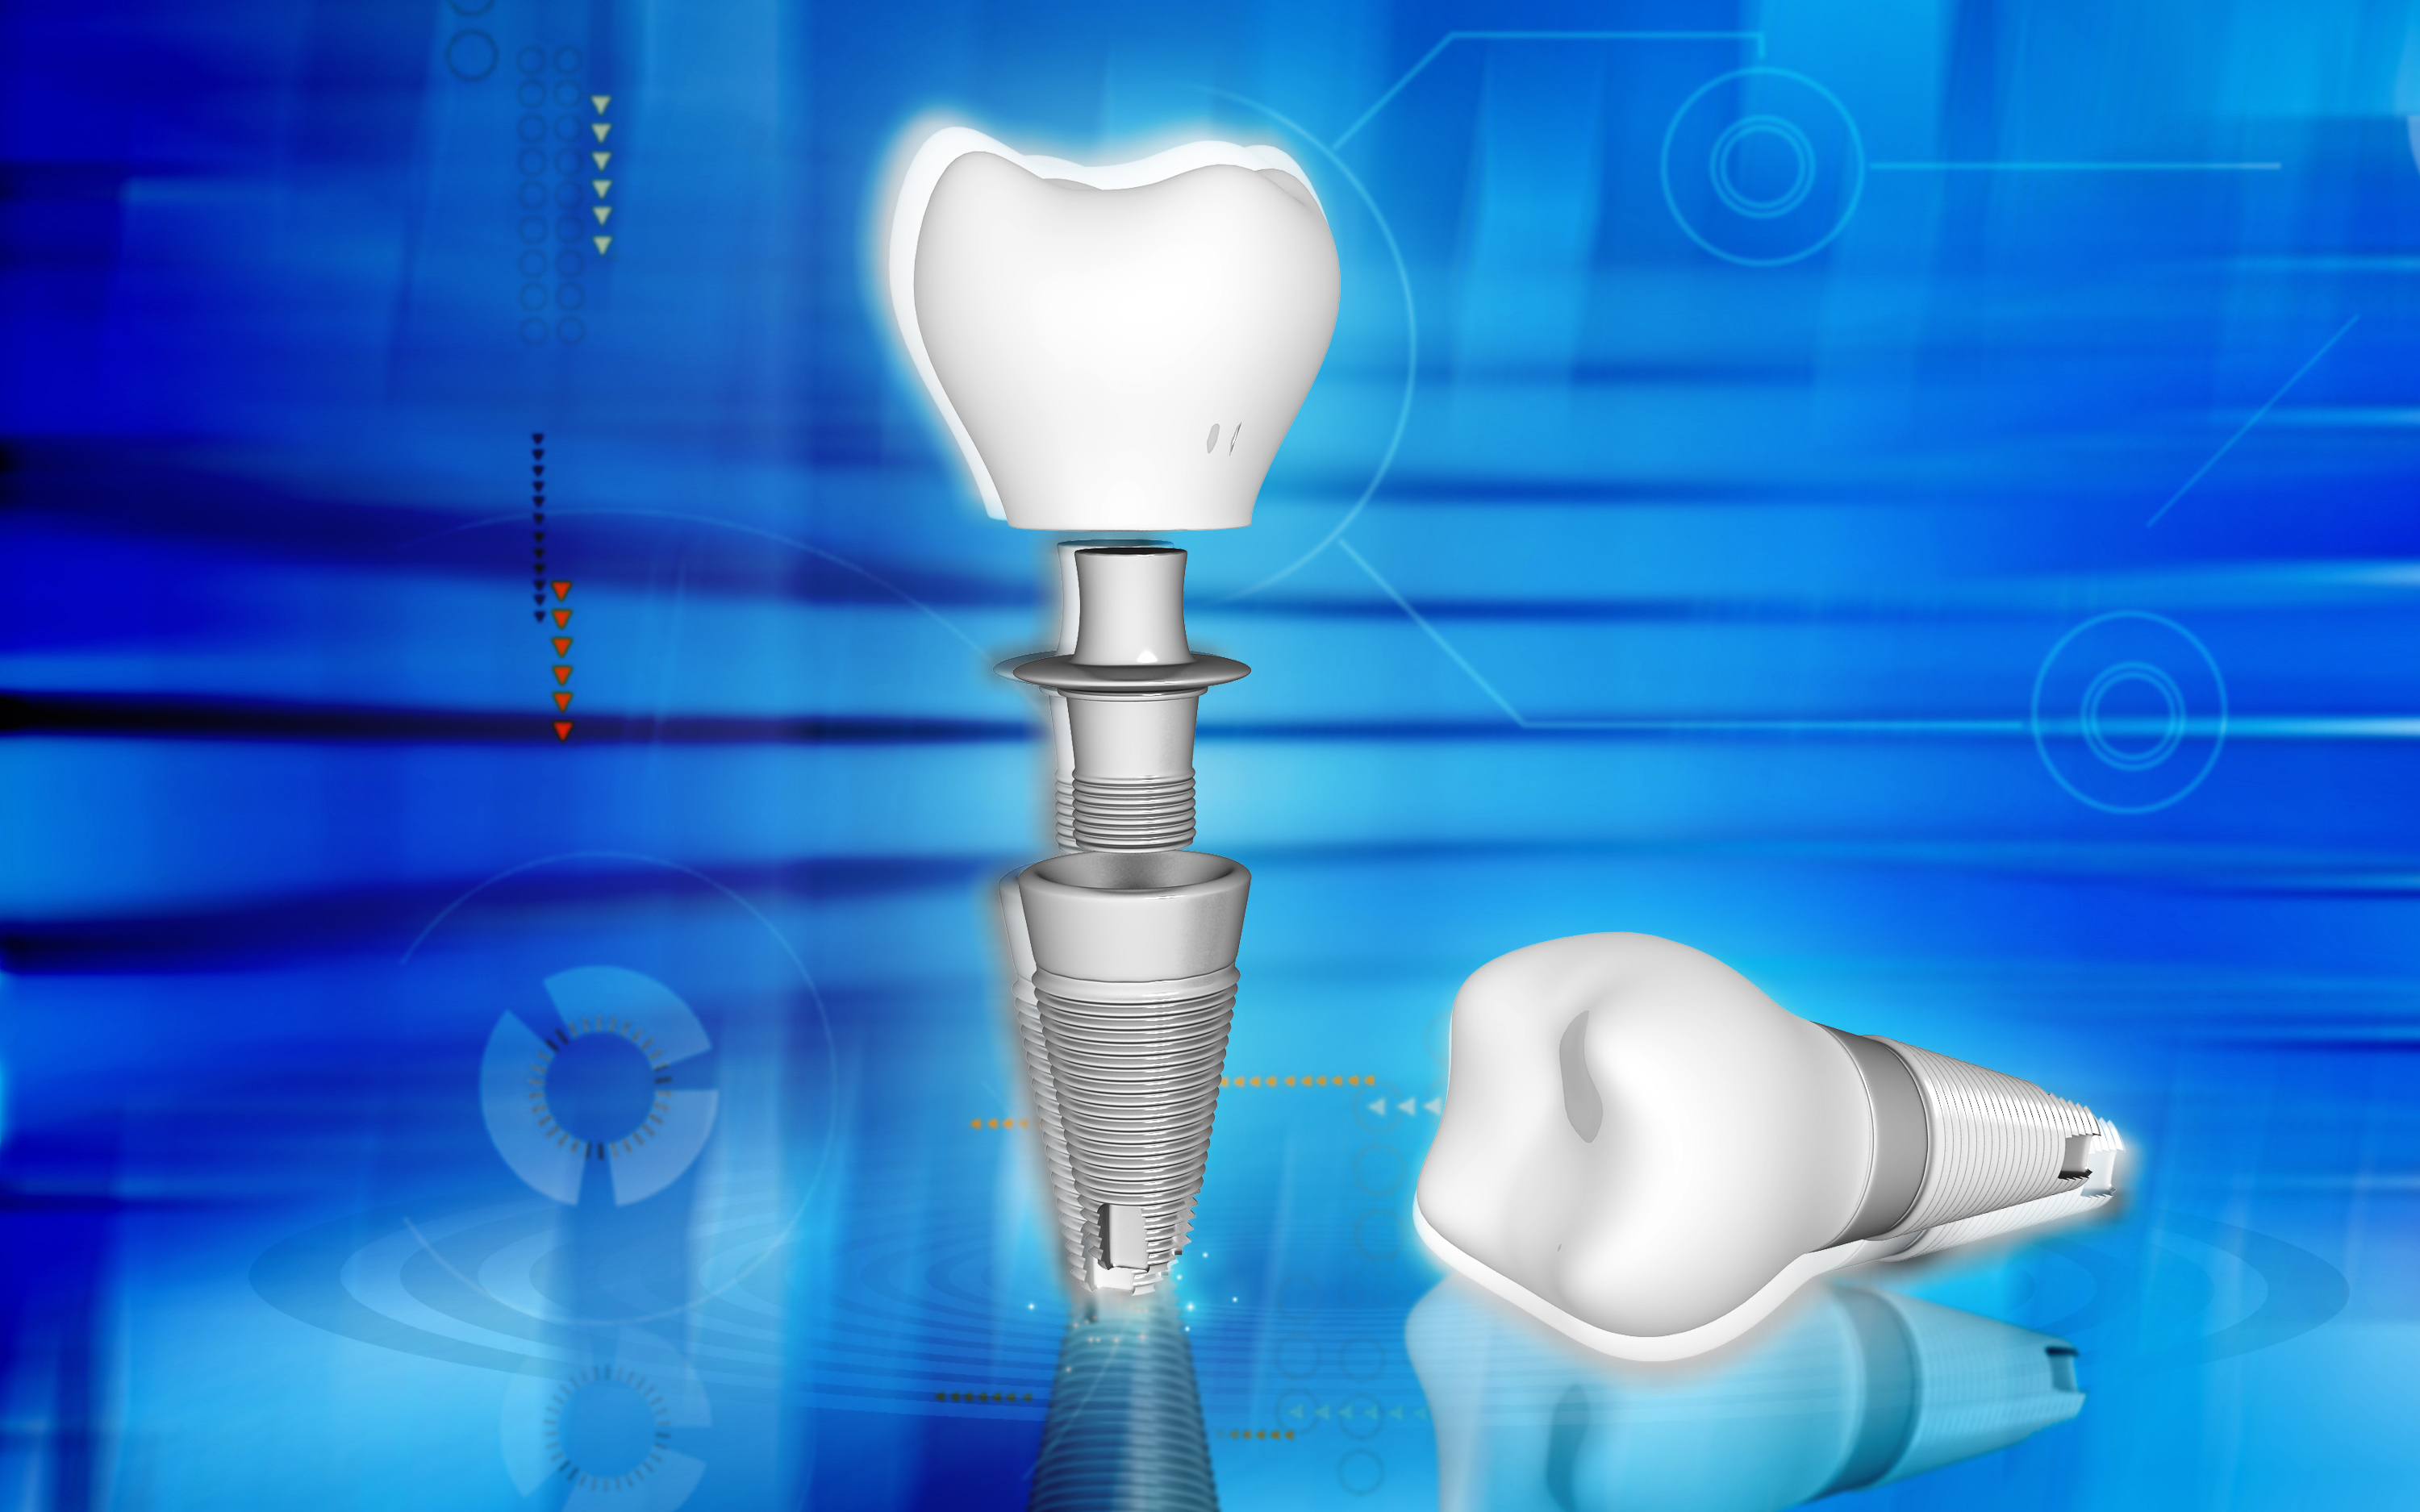
Control costs without sacrificing precision with custom abutments. CAD/CAM designed for shape and angulation that perfectly suits your patient’s unique anatomy, Restorative Oral Designs’ custom abutments are fully compatible with most major implant platforms. Fabricated from titanium or zirconia for improved esthetics, custom abutments can be successfully restored with your choice of crown.
Preparation
Cementation Insurance Use manufacturer’s tooling to remove healing cap. For multiple units, start in the posterior and work toward anterior. Then, use manufacturer’s tooling to place transfer coping. Ensure components are fully engaged before tightening screw.
Take an X-ray to verify proper seating of components. Next, ensure transfer coping does not hit tray. Use heavy body polyvinylsiloxane impression material. Record impression. Finally, when impression tray is removed, the transfer coping stays in the mouth. Remove transfer coping and replace healing cap.
For multiple units, start in anterior and work toward posterior. Check fit of impression coping into impression. Send to lab.
Cementation
Seat abutment. Torque screw into place per manufacturer’s recommendations. Next, use composite to fill over the implant screw. Cement restoration over implant with a resin-reinforced ionomer (i.e., RelyX, 3M ESPE).
Insurance
D6057 Implant Abutments
 Stock Abutments
Ensure perfect compatibility and full 510(k) compliance with stock abutments direct from the manufacturers. Restorative Oral Designs technicians modify prefabricated abutments to accommodate necessary angulation and contours.
Preparation
Use manufacturer’s tooling to remove healing cap. For multiple units, start in the posterior and work toward anterior. Then, use manufacturer’s tooling to place transfer coping. Ensure components are fully engaged before tightening screw.
Take an X-ray to verify proper seating of components. Next, ensure transfer coping does not hit tray. Use heavy body polyvinylsiloxane impression material. Record impression. Finally, when impression tray is removed, the transfer coping stays in the mouth. Remove transfer coping and replace healing cap.
For multiple units, start in anterior and work toward posterior. Check fit of impression coping into impression. Send to lab.
Cementation
Seat abutment. Torque screw into place per manufacturer’s recommendations. Next, use composite to fill over the implant screw.
Cement restoration over implant with a resin-reinforced ionomer (i.e., RelyX, 3M ESPE).
Insurance
D6057 Implant Abutments

